![]()
![]() Learn how to pressure can dry beans in this simple tutorial on Pressure canning for complete beginners. Canning gives you more control over additives such as salt and preservatives in your canned goods leading to a more healthy natural diet.
Learn how to pressure can dry beans in this simple tutorial on Pressure canning for complete beginners. Canning gives you more control over additives such as salt and preservatives in your canned goods leading to a more healthy natural diet.
![]()
![]()
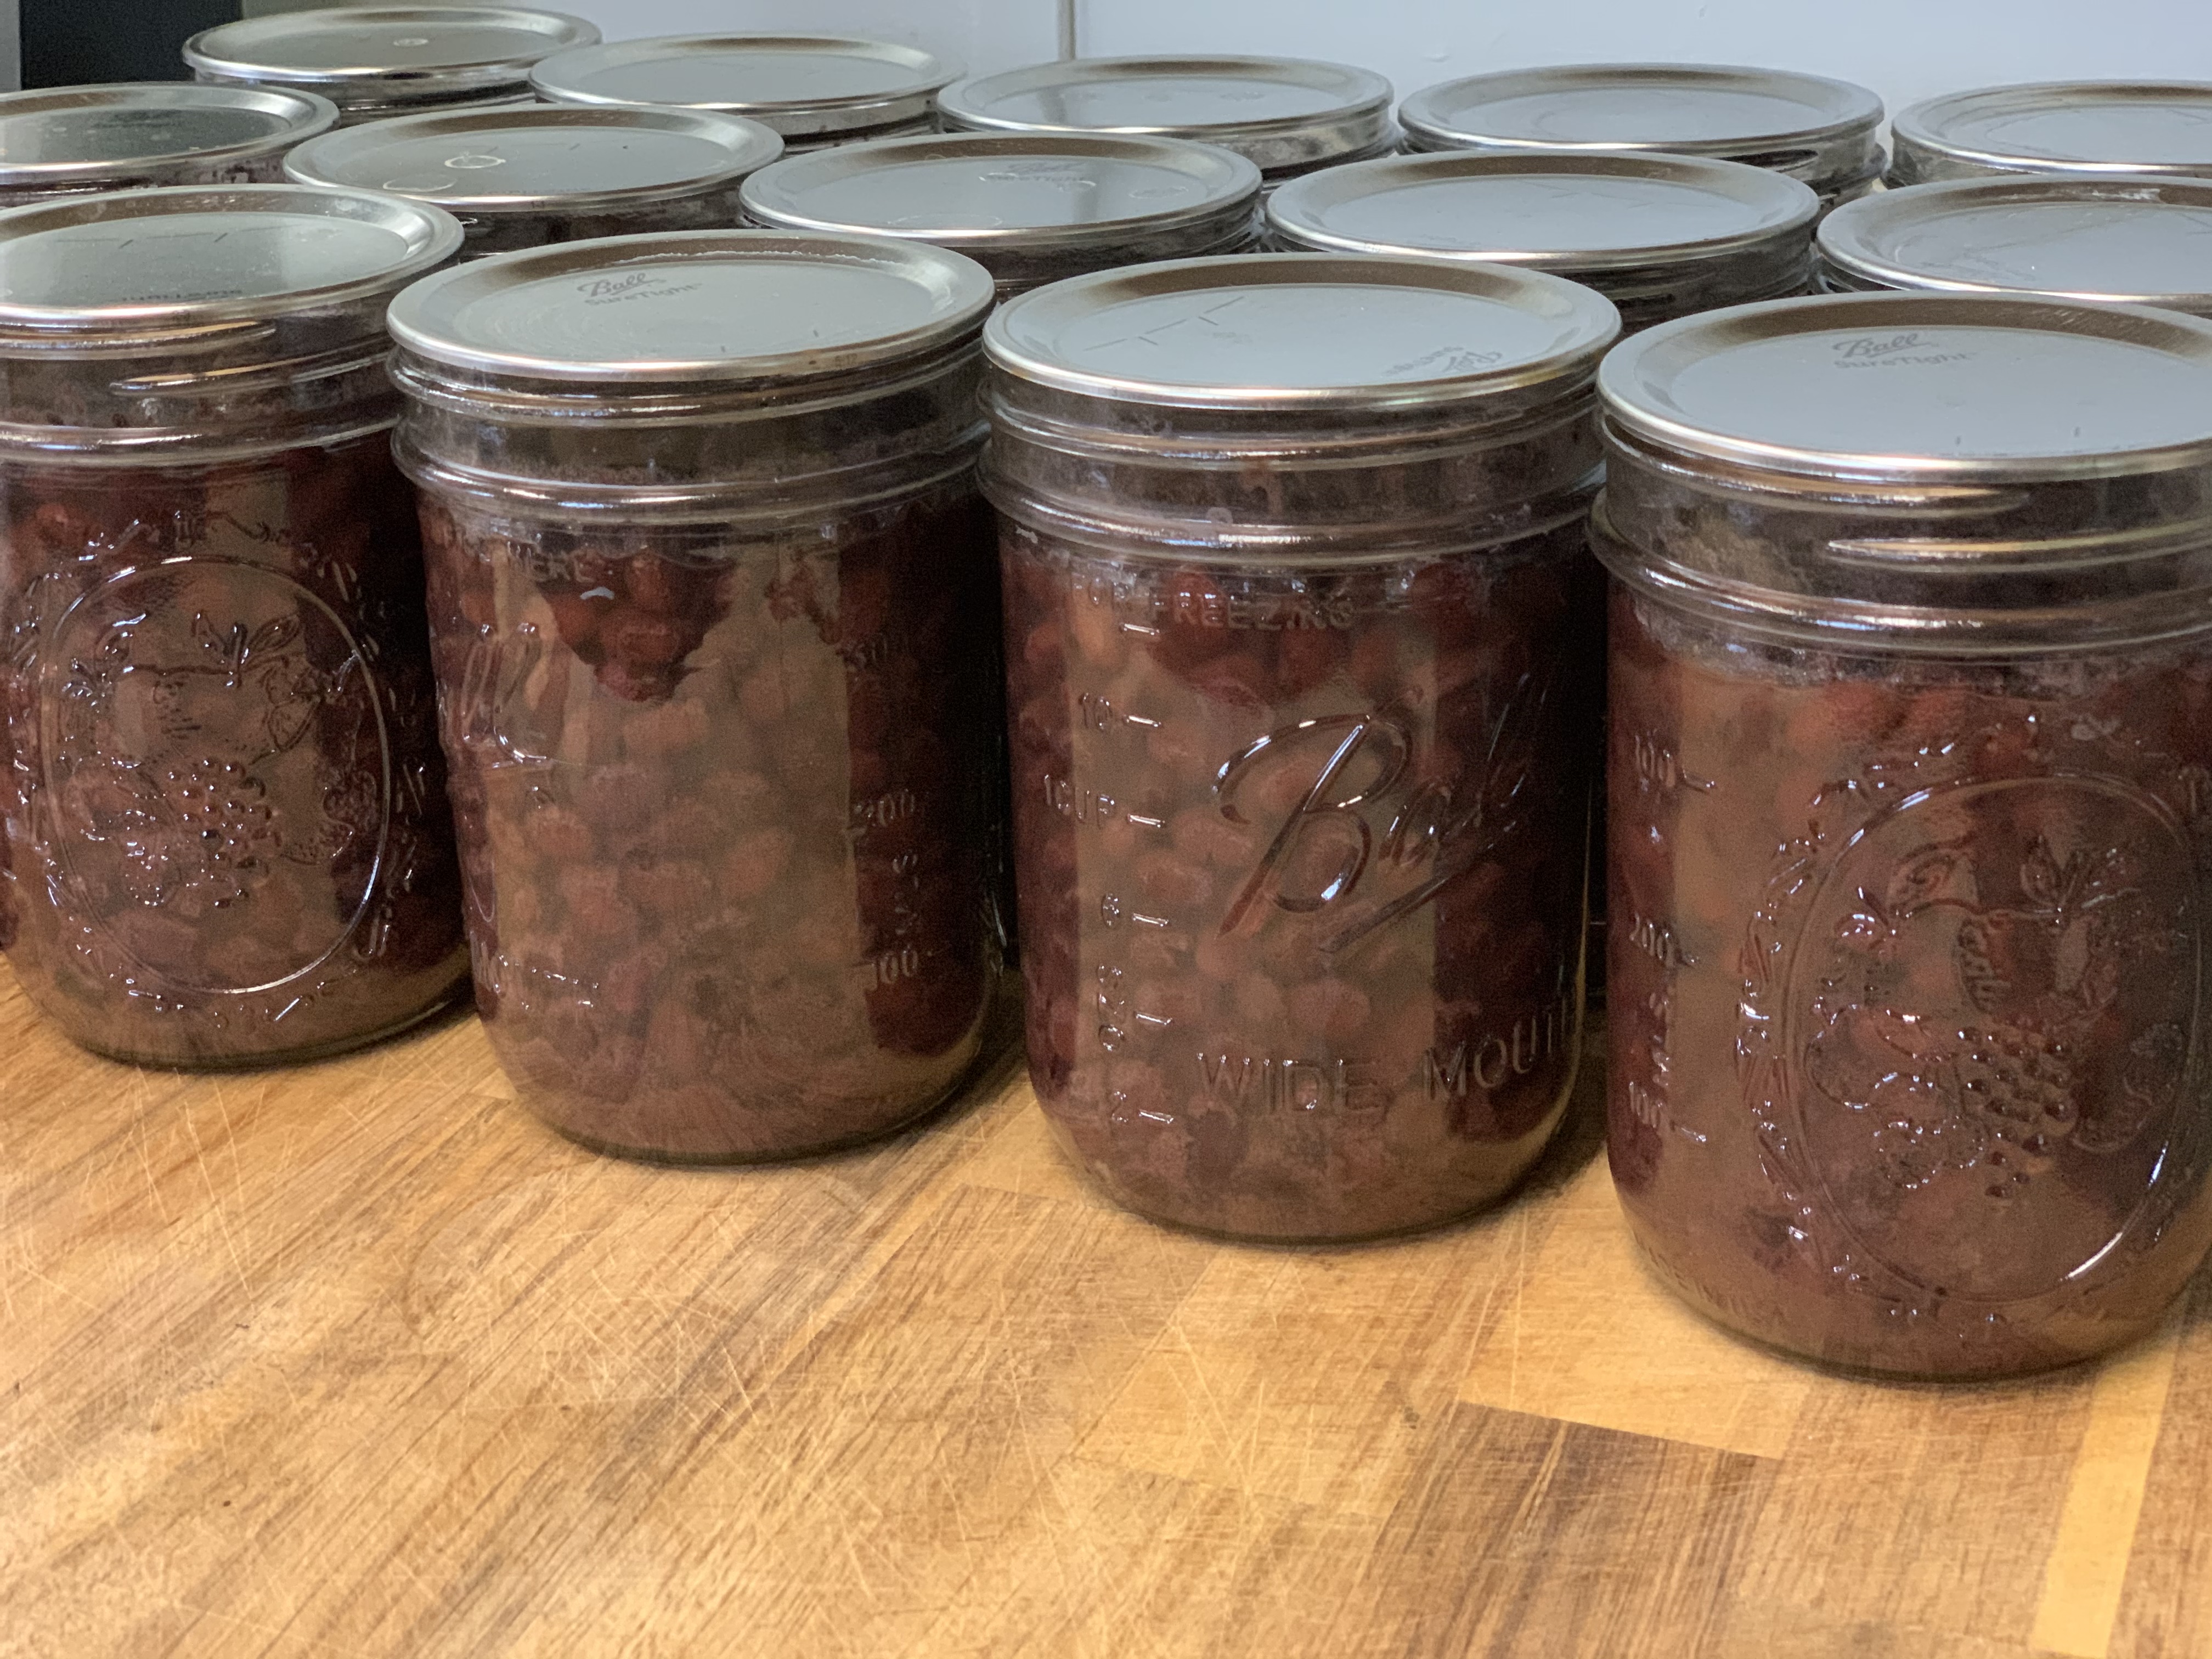
Taking the leap…
For the past three years I have wanted to learn how to preserve my own food through Pressure Canning. I watched as many videos and read as many tutorials as I could but just couldn’t get my self to make the leap and can anything. I was paralyzed by the fear of doing something wrong and exploding the canner. We have all heard the horror stories of some unfortunate soul who blew up their canner. I can be pretty absent minded at times, what if I neglected it or forget about it and it exploded.
Im not completely new to preserving foods. I have water bath canned jams. Last summer I water bath canned salsa, but I was so worried I had done something wrong, because I didn’t follow a recipe, that I threw the entire batch out and was too discouraged to try again. However, gearing up for this summers harvest, I knew I needed to get over my fears and learn the safety rules. Most importantly I knew I needed someone to walk me through the pressure canning experience.
First hand experience…
I found out my neighbor cans her own tomato sauce and chicken every year so I asked if I could join her on her next canning session. Thankfully she was just about to can some sauce and I didn’t have to wait long.
Canning day came and I spent several hours learning that I had grossly over thought the canning process. It really wasn’t that difficult, or scary.
In this Pressure Canning Tutorial for Beginners you will learn how to safely pressure can. I will walk you through step by step, from start to finish, the process I learned of canning black beans. The principles are the same for almost all foods that you want to can. Make sure you use safe and tested recipes. There are certain foods that you cannot can.
List of supplies needed for canning beans
- Presto Pressure Canner– im using a hand-me-down that is no longer being made, but here’s a compatible one by Presto. Eventually I will invest in this All American Pressure Canner, but for now Im sticking with my free one.
- Starter Canning Kit this one has everything you will need. Its a good idea to have a few sets of these. They have a way of going missing.
- Pint or Quart sized Mason Jars with lids Canning jars are becoming increasingly difficult to find locally. These are the cheapest I could find on Amazon.
- Vinegar for cleaning your area and soaking beans. I use vinegar for cleaning all around my house so I like to stock up.
- Cream of Tartar to add to canner to prevent hard scale build up
- 4lbs Organic Beans of choice
- Water
- Freshly laundered clean dish cloths (2)
- Up to date Ball Blue Book
- Large Stock Pot
- Ladle and slotted spoon
- Redmonds Real Salt I like this salt because it has trace minerals and no additives. You could also use canning salt but don’t use regular iodized salt. The anti caking agents will discolor your canned goods and make the liquid cloudy.
How do you prepare beans for canning
- Rinse and sort your beans.
- Soak beans in a large pot with clean water and 2 to 3 Tablespoons of Vinegar, in refrigerator for 12-24 hours
- Rinse and sort beans again, and fill pot with clean water 3 to 4 inches above top of beans
Rinse and sort your beans. This is a very important step that should not be skipped. Beans are very dirty after being grown in a field, processed though a plant and bagged for your grocery store shelves. Not only are they dirty, but you are likely to find small pebbles in any given batch. I wash the beans by rubbing handfuls of them between both hands under running water and sort for any broken, halved beans that just don’t look like they should. Sometimes you might even find beans that have been hollowed out by a bug. You want the highest quality that you can ensure, going into your canned goods.
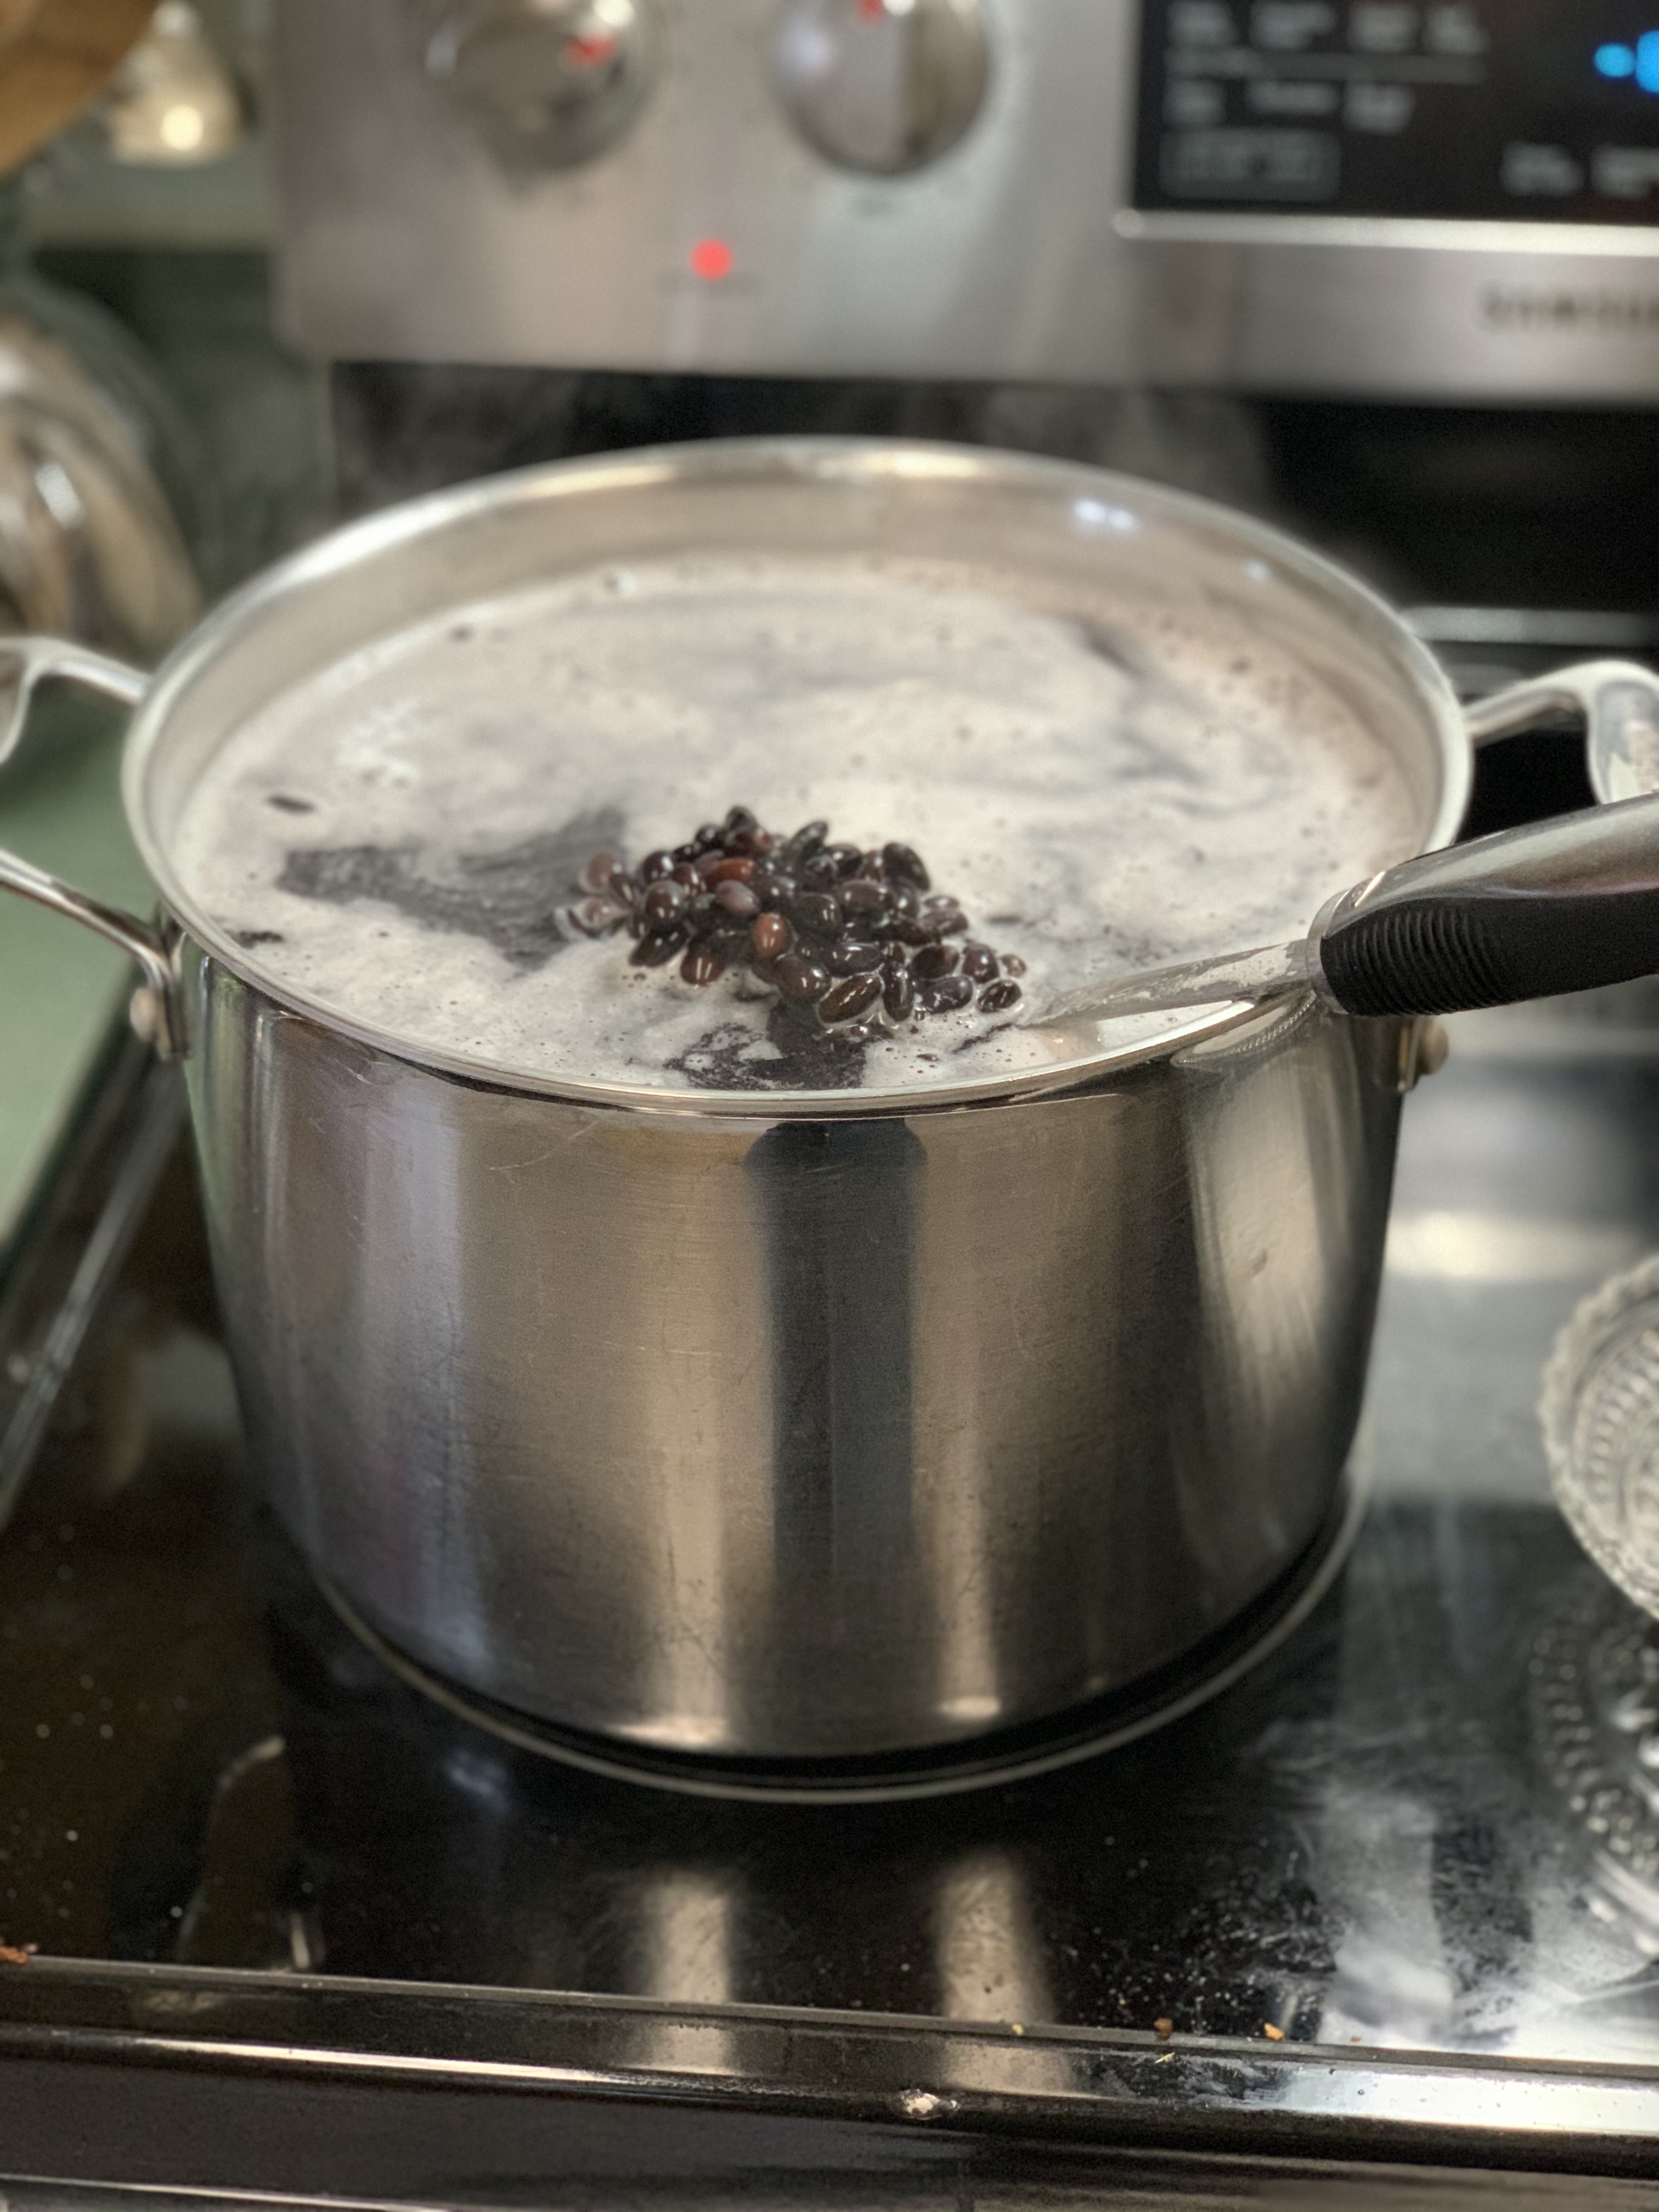
Black Beans, rinsed, sorted, soaked, and precooking….
Why should you soak beans and for how long?
Whether I’m cooking the beans for more immediate use or canning, the next step I like to take, and the reason I don’t like using store bought canned beans, is presoaking. Years ago, when I first started on my journey to healthier eating, I learned about more traditional methods of preparing foods, especially grains and legumes. I had suffered from Eczema since I was 12 and in my mid twenties, I started learning that my gut health was the cause of this terrible skin issue. Without going into too much detail in this post, I learned that soaking your beans with an acidic component, such as apple cider vinegar, caused the nutrients to be more available to our bodies. Grocery store beans are not prepared this way.
After the 12-24 hour soak in your fridge, I give the beans another few rinses to make sure they are good and clean. The step of soaking can be skipped if you are in a rush, however, with better digestibility also comes less after effects that are generally associate with eating beans…. I recommend taking this extra step.
Hot packing vs. Cold packing
Next you will need to decide if you are going to hot pack or cold pack your jars. It is my understanding that cold packing is generally done with dried, rinsed beans that have not been soaked. For my purposes, I chose to hot pack my beans.
Hot packing is where your food and jars are hot when they are put into the hot canner. I also chose to hot pack because logically it seemed to be a good way to shave time off the pressurizing process. So, the Ball Blue Book recommends you boil the beans for 30 min.
How to prepare workspace, jars and utensils for canning
- Wash Jars and lids in hot soapy water
- Load into canner with boiling water to sterilize and keep hot for hot packing jars.
- Wash funnel, debubbler, and lid lifter with hot soapy water
- Pre clean and wipe counters and surrounding workspace with vinegar
While the beans are precooking, it is a good time to wash your jars, lids, and rings in hot soapy water. You will also need a funnel for filling your jars, a jar lifter, the jars will be hot, a debubbler, for removing air pockets and measuring headspace, and a lid lifter. You can buy starter kits like this one on Amazon. Go ahead and wash them again at this time as well, just to ensure they are also as clean as they need to be. To make sure I have as clean of an environment as possible, I pre-cleaned my sink and all counter surfaces around where I would be working. I also wiped my surfaces down with vinegar to sanitize them.
After washing the jars, fill them with hot water and put your first layer in your pressure canner, fill the pressure canner with water up to 3 inches up the sides of the jars. Turn your stove on high to heat your water. I put my lids and rings in another pot filled with hot water on the stove on low to keep them ready.
Whats next…
Once your beans have precooked its time to start filling your jars. Use your funnel for easier filling and to keep your jars cleaner. Because my beans were presoaked, and precooked, I was able to fill my jars with beans to around 2/3 full. This ensured plenty of room for expansion during the canning process. Fill with cooking liquid to the 1 inch recommended headspace. Make sure you have plenty of liquid in your pot. If you run out, like I did, its good to have a kettle going with boiling hot water to fill the jars to the 1 inch mark.
Season with salt
Next, and this is optional, I added a half of a teaspoon of real salt for extra flavoring. By “real salt” I mean salt that is purely salt, no additives, like anti caking powders, or iodine, or any of they other additions that are typical of many salts on the market. I use Redmonds real salt from amazon because it has trace minerals and no additives. You could also use canning salt.
Next Pack and load your Jars
After packing your jars, it is very important to clean the rims of your jars. If there is food, salt or any small particles on the rim, it could cause your jars not to seal properly. To do this, get a clean cloth, and dip the end of it in a small bowl of white vinegar, wipe each rim carefully. Next use tongs or a magnetic lid lifter to center the lid on the top of your jars, screw on the rings to finger tight. Finger tight means don’t leave them loose, but don’t use extreme force to screw them on as tight as possible.
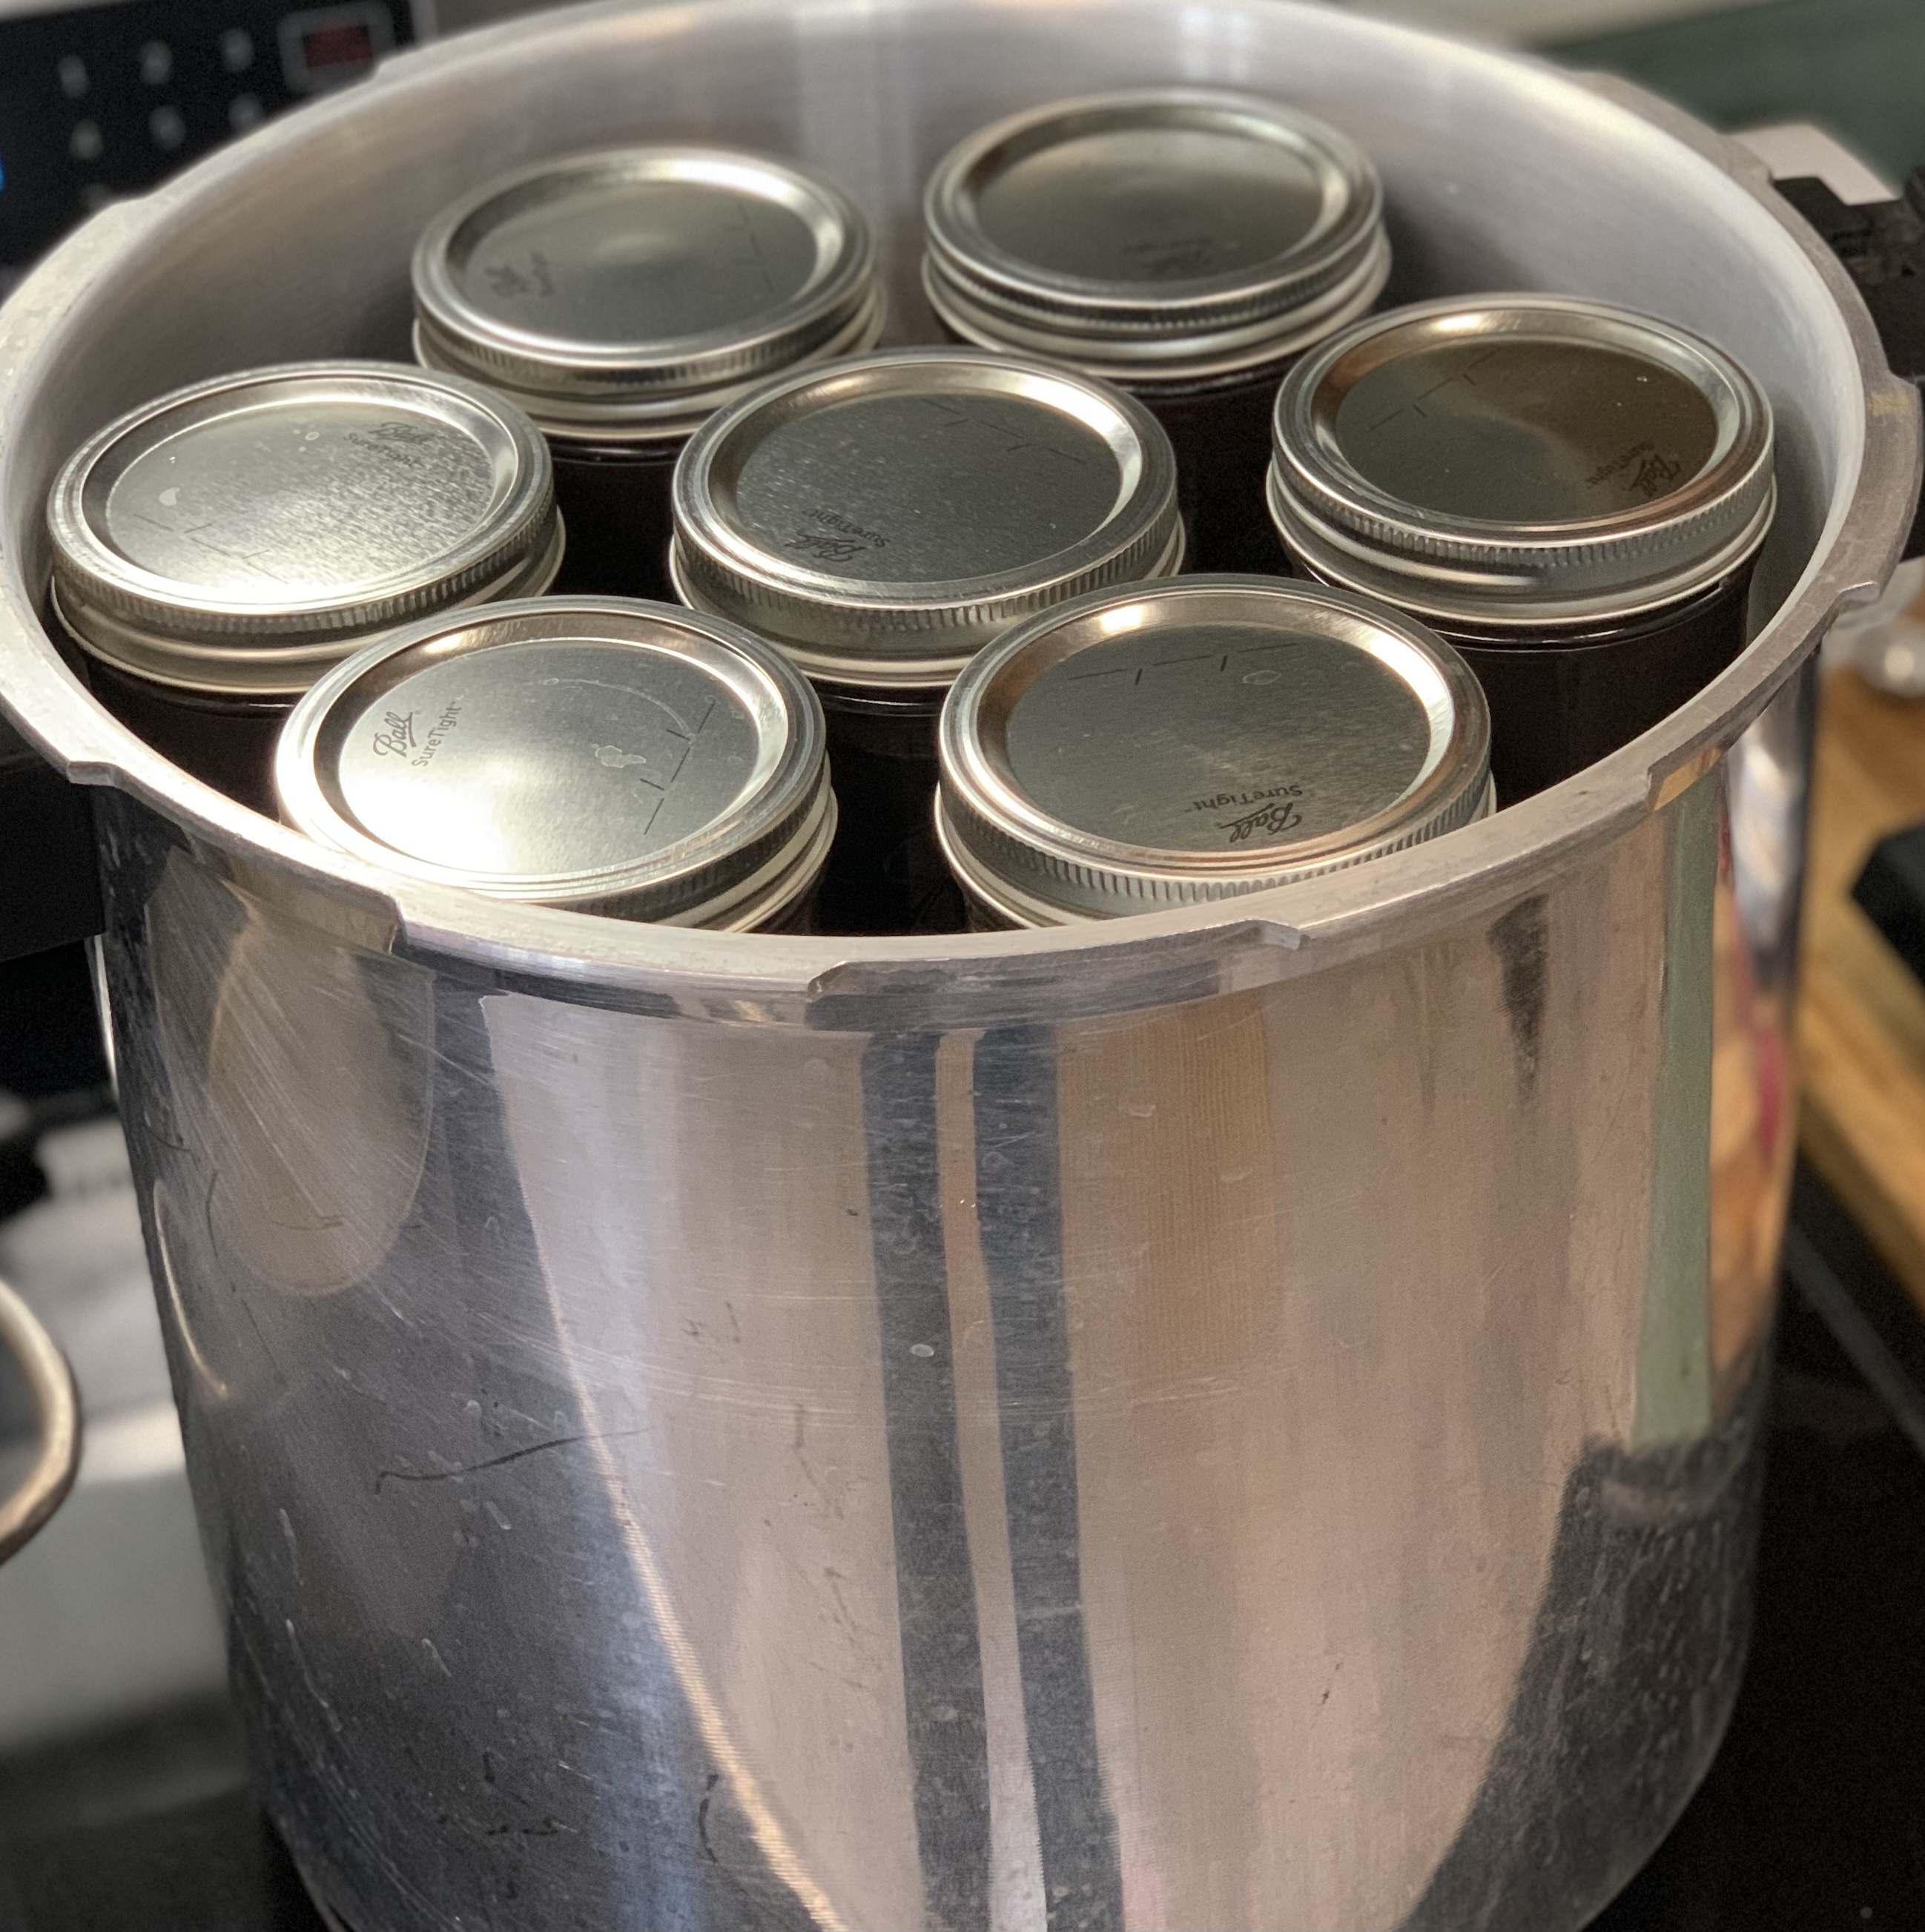
15 Pint sized jars of Black Beans loaded in my 22 qt. Pressure Canner
Now the jars are ready to be loaded into your canner. Though this is a tutorial on canning, it is very important that you read your canners manual before you begin this process. I was fortunate to be given a pressure canner but unfortunately it didn’t come with a manuals I researched to find a manual online, but never quite found my specific model. Instead I read through several manuals by the manufacturer, and felt like I had a pretty good understanding of my canner that I could make the leap.
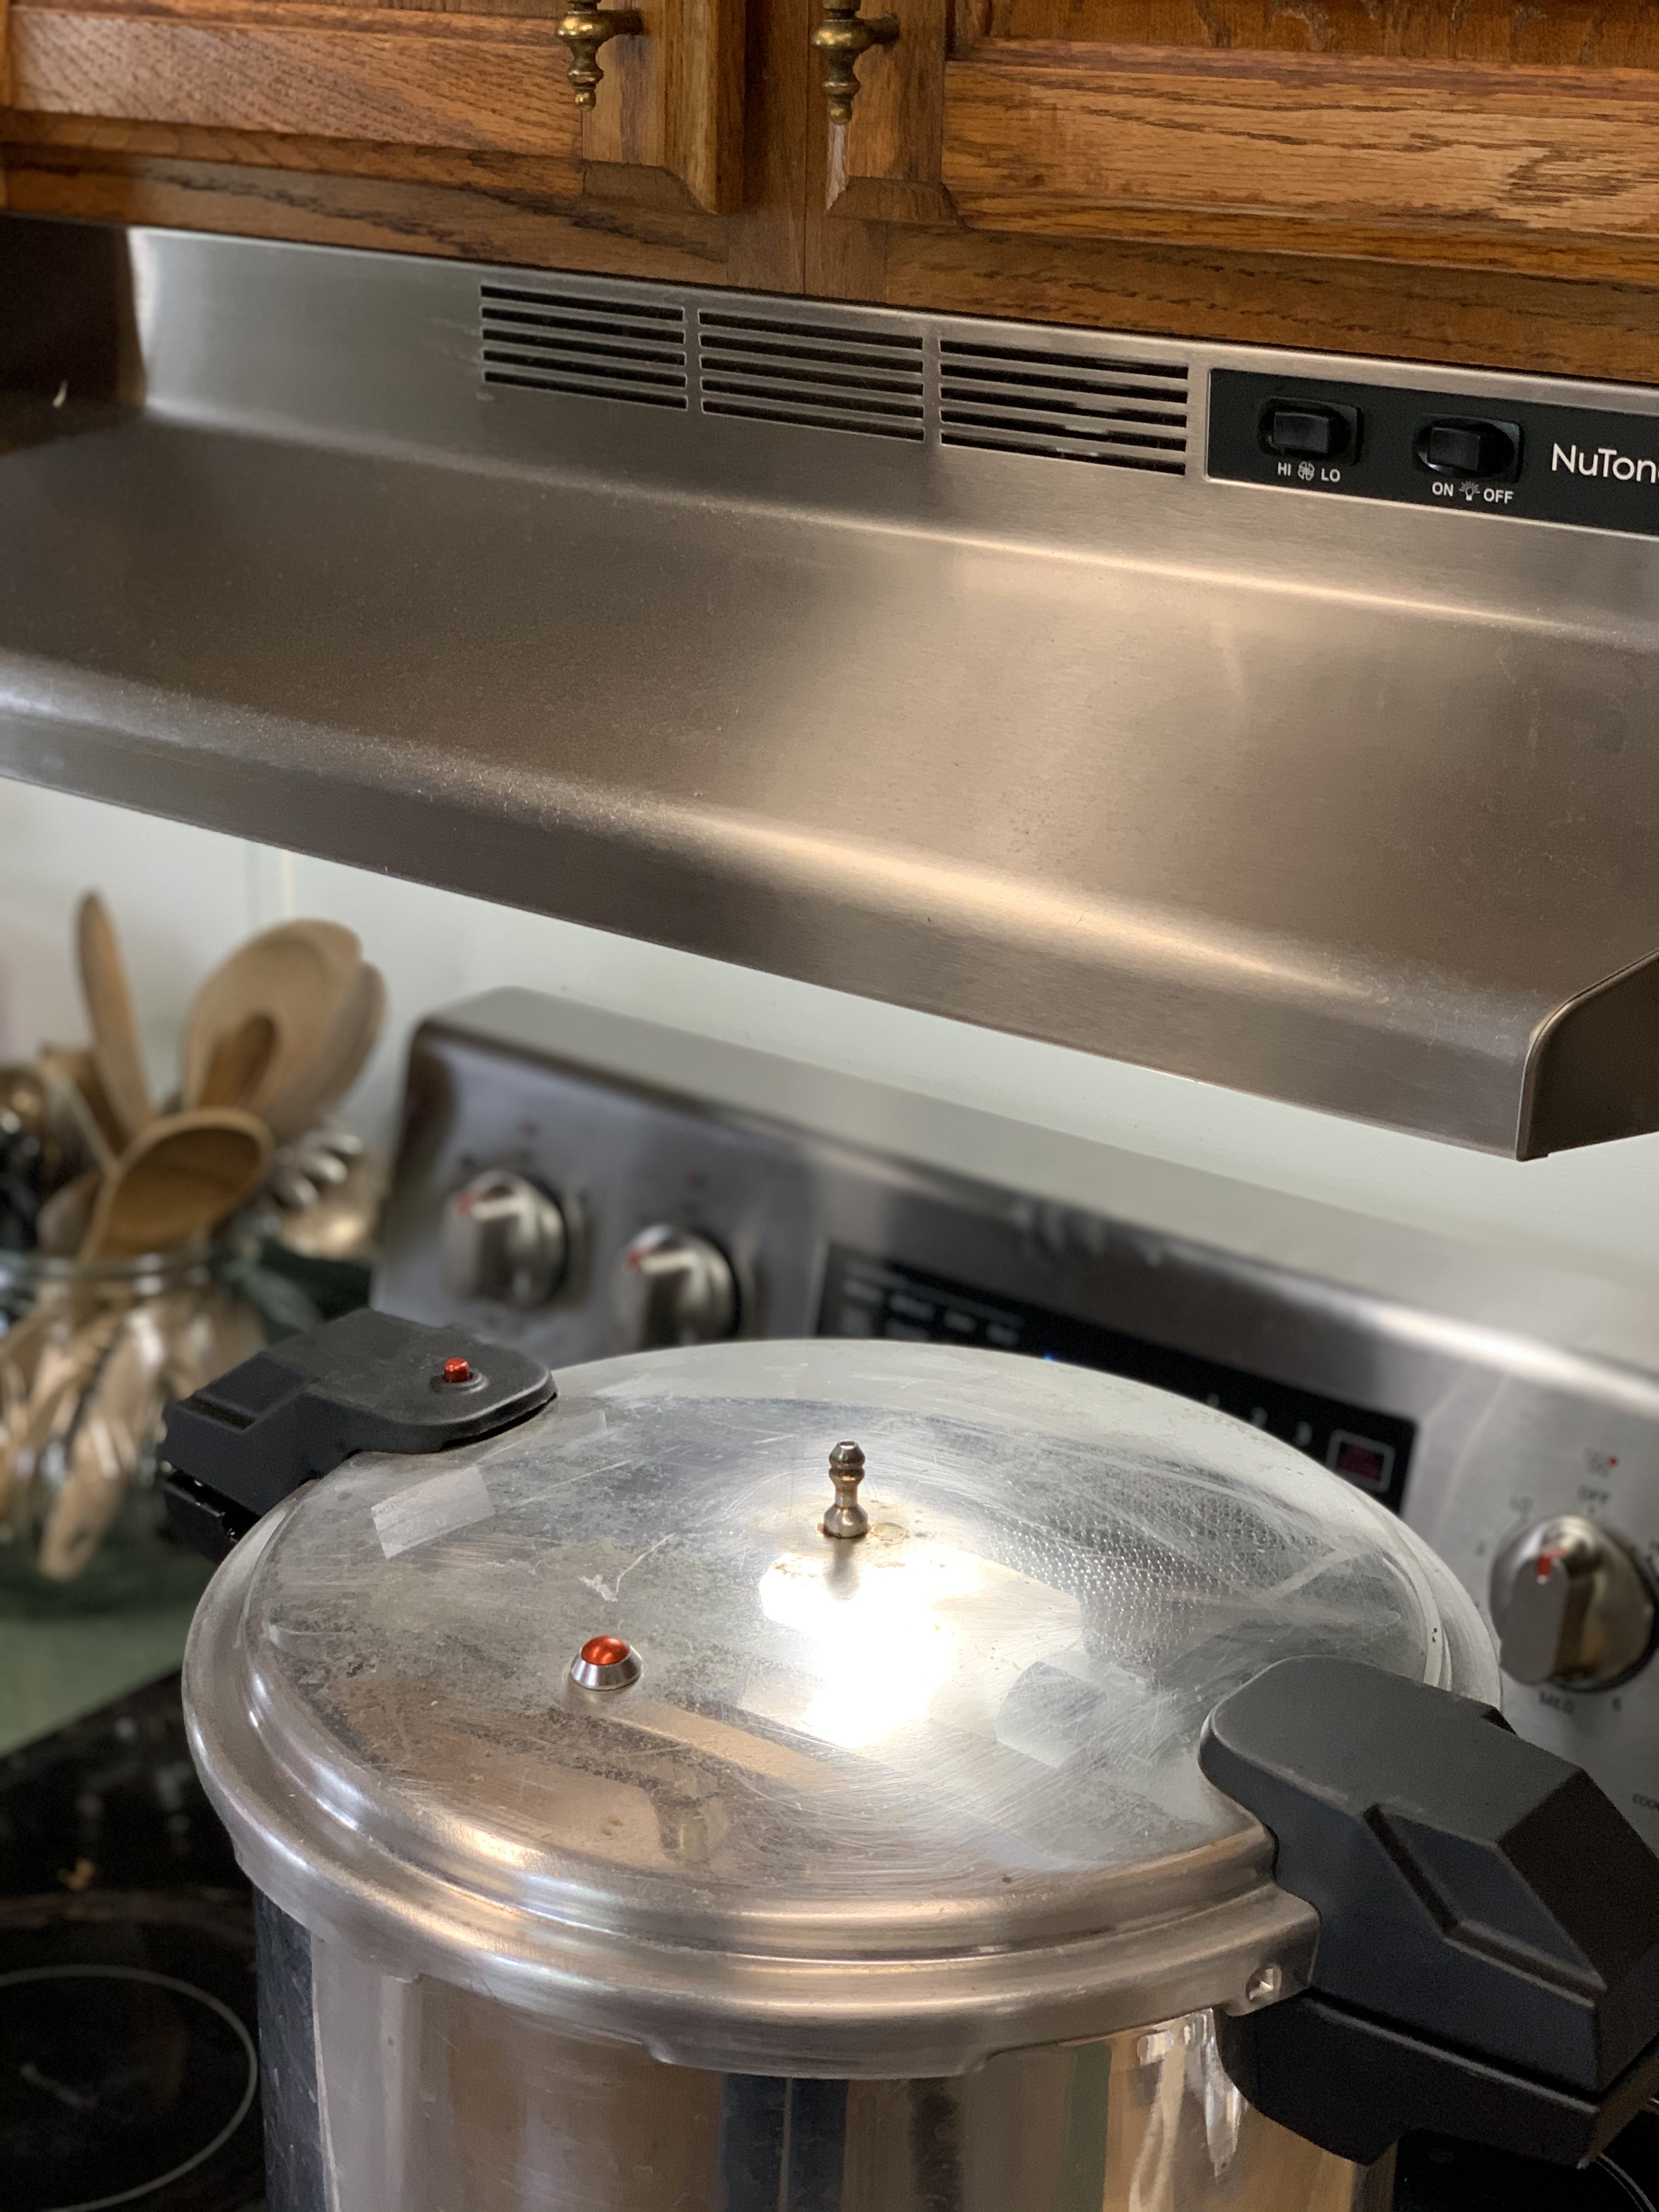
Constant steady stream of steam for 10 minutes to expel all cool air from Pressure Canner
I have an old hand-me-down 22qt canner. My manual says it will hold up to 16 pints, or 7 quarts. I wanted to keep the jars small so I could use them for add-ins for meals. Black beans are not generally a bean I would use an entire quart for either.
I used a 4 pound bag of dried black beans, which filled 15 pint sized jars. My canner came with two canning racks. One for the bottom and one for the middle, for in between the two layers of jars. Once my jars were in place, I fastened the canner lid and turned the stove eye to high.
Your stove matters…
My stove is a glass top stove and the burner I used has 3 different widths. Glass tops are not ideal, and can break under the pressure of a heavy pressure canner filled to the brim. I double checked with my stoves manufacturer that my make and model was capable of sustaining the weight. The largest burner fits the bottom of my 22 qt Mirro Pressure canner.
It took about 10 minutes for my canner to have a constant stream of steam coming from the vent tube, I assume it took this long because I am using a glass cook top instead of a gas or even electric range. Once the steam was steadily coming from the vent tube, it makes a soft whistling sound, I set my time for the recommended 10 minutes. Allowing the steam to release for 10 minutes ensures that all the cold air is out of the canner.
What is your elevation?
Once the 10 minutes was up, I added my 10lb psi controller, check the elevation for your area. Elevation can change in a short distance so its good to find out specifically what your elevation is . I left my stove on high until the controller began to steadily jiggle, at that point I adjusted the temperature to keep the controller from going crazy. If your weight is going crazy, its too high, adjust your temperature down a little. I slowly walk mine down over the next 15 minutes, keeping the weight at a consistent jiggle.
Set your timer but don’t forget…
After the weight is in place, set your timer for the recommended time. The Ball Blue book recommends 75 min for hot packed beans. I use this time to clean up the mess I made, put away extra jars, and do laundry. My kitchen is a galley kitchen and is in the middle of my home. Im in and out of it constantly and can hear the whirring of the canner from most every room. Don’t walk away and forget it. There is safety valve on the lid just in case the pressure gets too high but it’s never a good idea to rely on this instead of staying near by.
Now you can walk away…
Once the hour and 15 minutes has passed, turn your stove off, and remove the canner from the hot eye.
Helpful Tips
- Do Not Open your canner at this point. All the contents are still extremely hot.
- Do Not Remove the weight control. Releasing the steam manually can cause siphoning and failed seals.
Pressure Canners are not like the new pressure cookers that you can release the steam manually. Pressure Canners need to be left to depressurize on their own. This took about 30 minutes. After all the pressure is out you can unfastened the lid. Be sure to open it away from you so that the steam won’t burn your face. It will still be hot.
Next, let the jars cool inside the canner, with the canner lid removed, for 10 minutes or more. Then, using your jar lifter, removed all 15 jars to you a towel on your counter and let them cool completely. Do Not Retighten the rings.
Before you put them away…
Test that the lids sealed. You can do this by holding the jar at eye level and looking across the top of the lid. If it is concave, it is sealed. Another way is to push on the middle of the lid with your finger. If it doesn’t depress and then pop out, its sealed. Lastly you can tap the lid with the back of a metal spoon. If it makes a dull sound then the lid didn’t seal.
Take all of the rings off of the jars.
The jars should be stored with the rings off and in a single layer. Storing them with the rings on can give the appearance of a false seal. If the jars have no ring on them it is easy to see if the seal is broken. If this happens, the food is unsafe to eat.

This is the second batch of beans I have successfully canned. All have sealed properly and none have leaked into the canner.
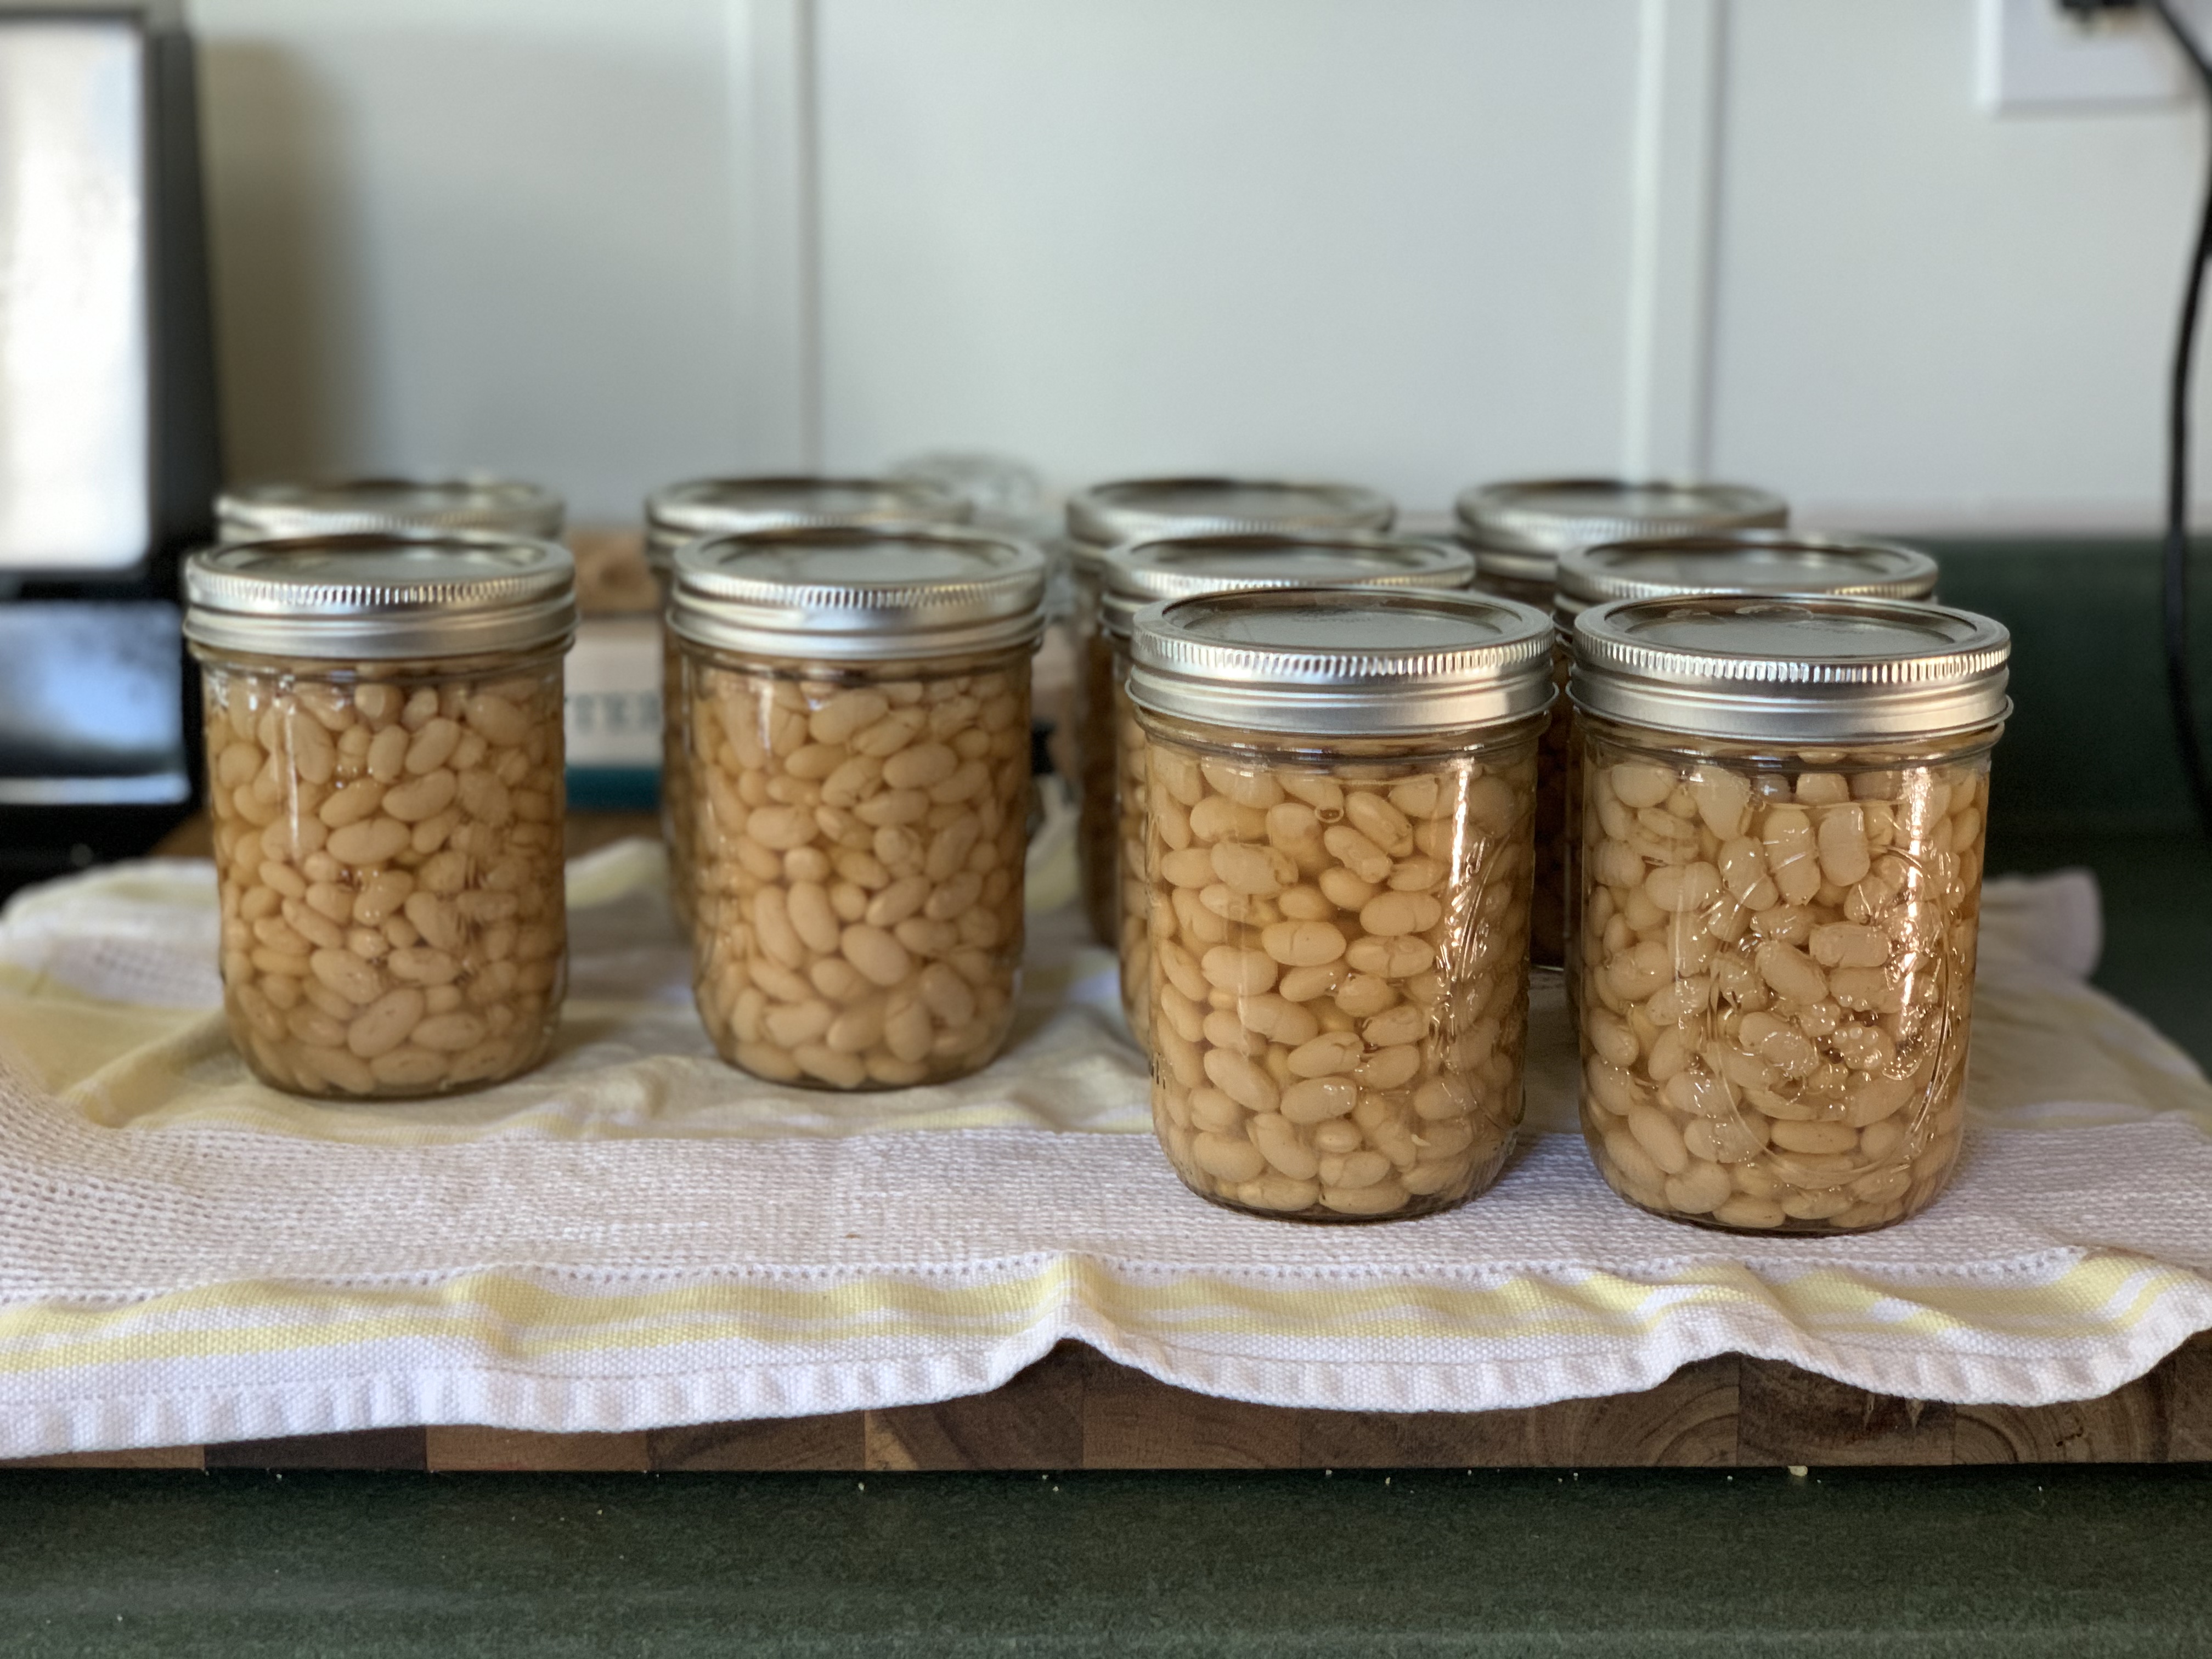
Heres my first batch, Cannellini Bean. Ready for the pantry shelves.
Ive been pretty proud of myself for overcoming the brick wall I had. Once I was able to watch someone else do it, I saw that it really wasn’t something to fear.
Be sure that you follow the safety rules and read your canners manual and the ball blue book. If you have any questions leave them in the comments below and I will try to answer them the best I can.
Blessings on you and your house…
For more recipes and posts from my blog check out these pages below
https://livinglangtonhomestead.com/fermented-garlic-in-honey/
https://livinglangtonhomestead.com/the-beginning-our-first-home-purchase/
